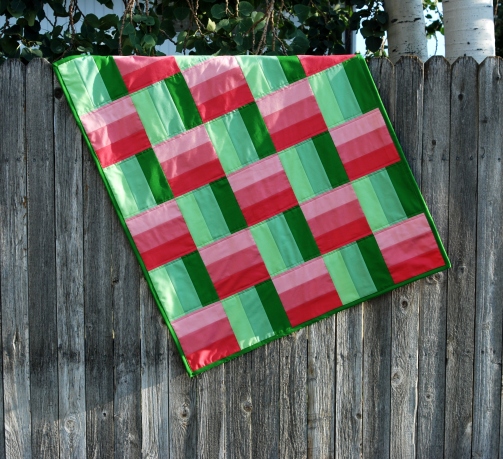
If you are looking for a super easy and fun (and quick!) little tutorial I have just the thing! The Watermelon Quilt! Also known as The Sand and Sea Quilt! Are you ready for some terrible paint drawings??? Good, here we go…
Fabric Requirements:
1/4 yard of 6 different fabrics (3 colors each in two different colorways)
3/8 yard binding fabric (or if you use 3″ strips like me, you will need 15″/half yard)
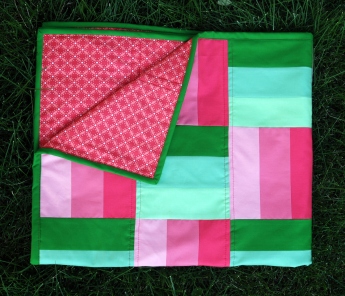
1.5 yards backing fabric (you may want more, this only leaves you with 2″ on either side, but that works ok for me because then you don’t have to piece it…)
Batting
Steps:
-From each of the 6 main fabrics, cut three strips, 3″ x width of fabric (WOF).
-Sew three strips of the different shades together along the long long long edge. Like this:

-Repeat that step until you have made three sets of each colorway.
-Press. If you are into that. Maybe you just want to finger press because you are lazy. I won’t judge.
-Cut long strips into 8″ squares. Like this:

Each strip set should produce 5 blocks, so now should have 15 of each colorway, 30 total.
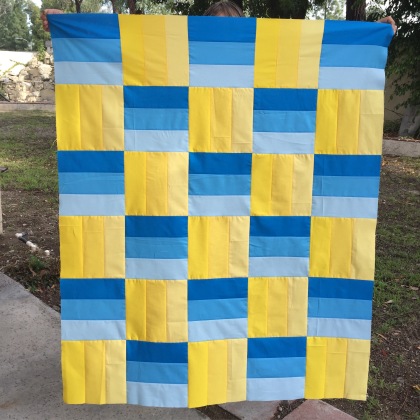
-Arrange your blocks, 5 blocks across by 6 blocks down, alternating colors and changing the direction every other block. Like so:

-Sew blocks together in rows. Then sew rows together. Quilt as you like.
-Bind (needs 5 strips, 2.5″ ones need 12.5″xWOF fabric, 3″ ones need 15″xWOF total)
-Quilt finishes (about) 38″x45.5″ You could obviously make this bigger or smaller very easily based on your desires.
TA-DA! You made a watermelon quilt. Or a Sand & Sea Quilt. Or something else awesome.

Let me know if you have any questions/corrections/adulation/misplaced anger/cookies!
